Blog
Image Compression Guide

Introduction
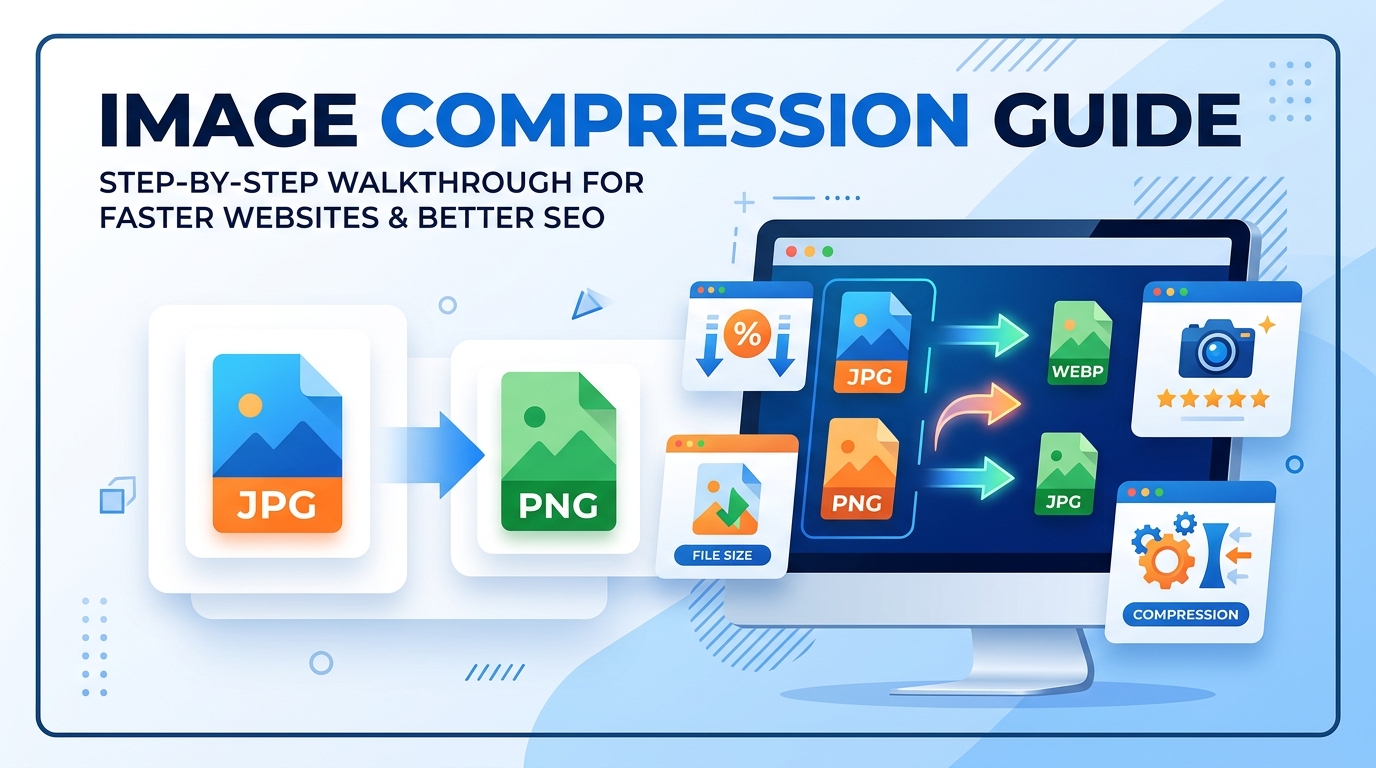
Image compression is an important part of image optimization. Large images slow down websites, take more storage space, and use more internet data. Compressed images load faster and improve website performance.
This Image Compression Guide explains what image compression is, why it is important, when to use it, and how to compress images step by step. This guide is useful for website owners, bloggers, designers, and anyone who uploads images online.
What is Image Compression Guide
Image compression is the process of reducing the file size of an image without reducing its visible quality too much. Compression removes unnecessary data from the image file so that the image takes less space.
There are two main types of image compression:
Lossy Compression
Lossy compression reduces file size by removing some image data. This method reduces file size a lot, but some image quality may be lost. JPG is a common lossy compression format. You can learn more in What is JPG.
Lossless Compression
Lossless compression reduces file size without removing image data. Image quality stays the same, but file size reduction is smaller. PNG is a common lossless format. Learn more in What is PNG.
If you want to understand the difference between these formats, read JPG vs PNG.
Why It Is Important
Image compression is important because images are one of the largest files on a website. If images are not compressed, websites become slow.
Image compression helps with:
- Faster website loading speed
- Better user experience
- Better SEO ranking
- Less storage usage
- Faster image upload and download
Search engines prefer fast websites, so compressed images help improve SEO. You can learn more in this Image SEO Guide.
When to Use It
You should compress images in the following situations:
- Before uploading images to a website
- Before sending images by email
- Before uploading images to social media
- When image file size is very large
- When website loading speed is slow
- When you want to save storage space
Image compression is especially important for websites and blogs because many images are uploaded on web pages.
Step-by-Step Guide
Step 1: Choose the Right Format
First, choose the correct image format. JPG is best for photos. PNG is best for images with transparency. WEBP is best for websites because it provides small file size with good quality.
Step 2: Resize the Image
Do not upload very large images. Resize the image according to your website layout. For example, if your website content width is 800px, do not upload a 4000px image.
Step 3: Compress the Image
Use an image compression tool to reduce file size. Compression removes unnecessary data from the image.
Step 4: Convert Image Format
You can convert image formats to reduce file size:
- Convert PNG to JPG using PNG to JPG Converter
- Convert images to WEBP using Image to WEBP Converter
- Convert images to document using Image to PDF Converter
Step 5: Upload Optimized Image
After compression, upload the optimized image to your website or platform.
Tips and Best Practices
- Always resize images before compression
- Use JPG for photos
- Use PNG for transparent images
- Use WEBP for websites
- Keep image quality between 60% to 80% for JPG
- Do not upload original camera images directly
- Use descriptive file names
- Add alt text for SEO
- Compress images before uploading to website
Common Problems
1. Image Quality Loss
If compression level is too high, image quality becomes blurry.
2. Wrong Image Format
Using PNG for photos can increase file size. Using JPG for transparent images removes transparency.
3. Large Image Dimensions
If image width and height are too large, file size will still be large even after compression.
4. Uploading Uncompressed Images
Uploading original images directly from camera can slow down website speed.
5. Over Compression
Too much compression can damage image quality and make images unclear.
FAQ
1. What is the best image format for compression?
WEBP and JPG are best formats for compression because they provide small file size with good quality.
2. Does image compression reduce quality?
Lossy compression reduces some quality, but if done correctly, the difference is not noticeable.
3. How much should I compress an image?
For JPG images, compression between 60% and 80% is usually good.
4. Should I compress images for SEO?
Yes, compressed images improve website speed, which helps SEO.
5. Can I compress PNG images?
Yes, PNG images can be compressed using lossless compression, or converted to JPG or WEBP for smaller file size.
Summary
Image compression helps reduce image file size, improve website speed, and save storage space. It is an important part of image optimization and SEO.
To compress images properly, choose the correct format, resize the image, compress it, and then upload the optimized image. Using the right compression method helps maintain image quality while reducing file size.
Image compression is necessary for websites, blogs, online stores, and any platform where images are used.